Setup Auth Mobile Google
Last Updated: 13 April 2023- ANDROID EXPORT
- IOS EXPORT
1. Initial Preparations for Android Export
First, Follow the steps in this doc: 📄Android Export 📌
2. Set WEB_APPLICATION_CLIENT_ID
- Go to Firebase Console Authentication > Sign-in method
- Click on Edit Google Configuration.
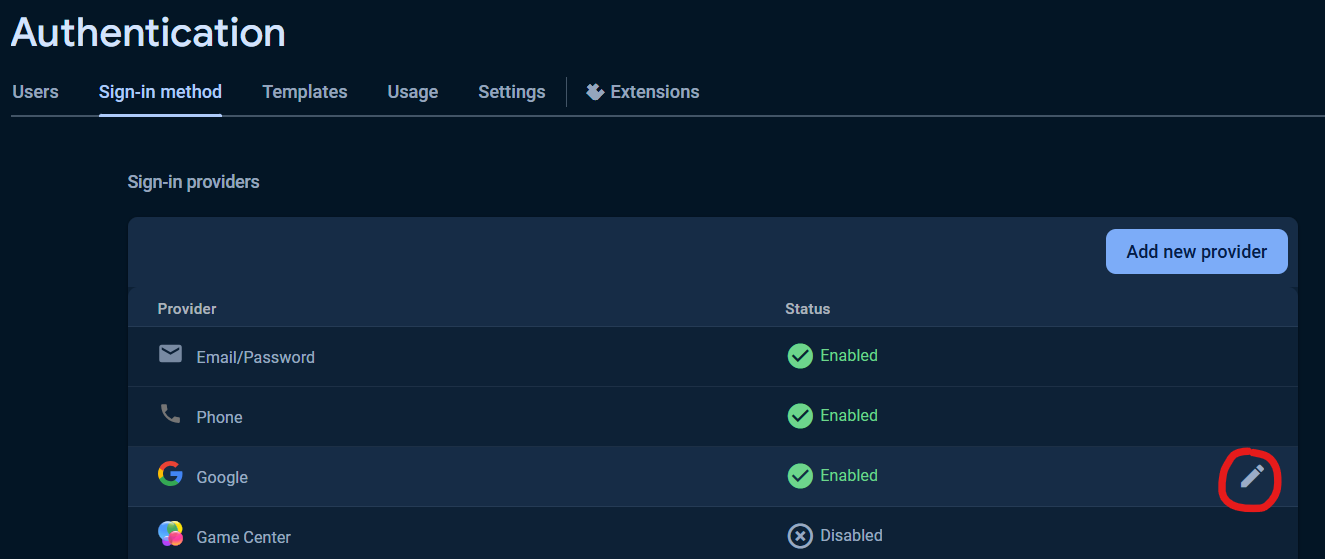
- Copy Web client ID. This is your required WEB_APPLICATION_CLIENT_ID.
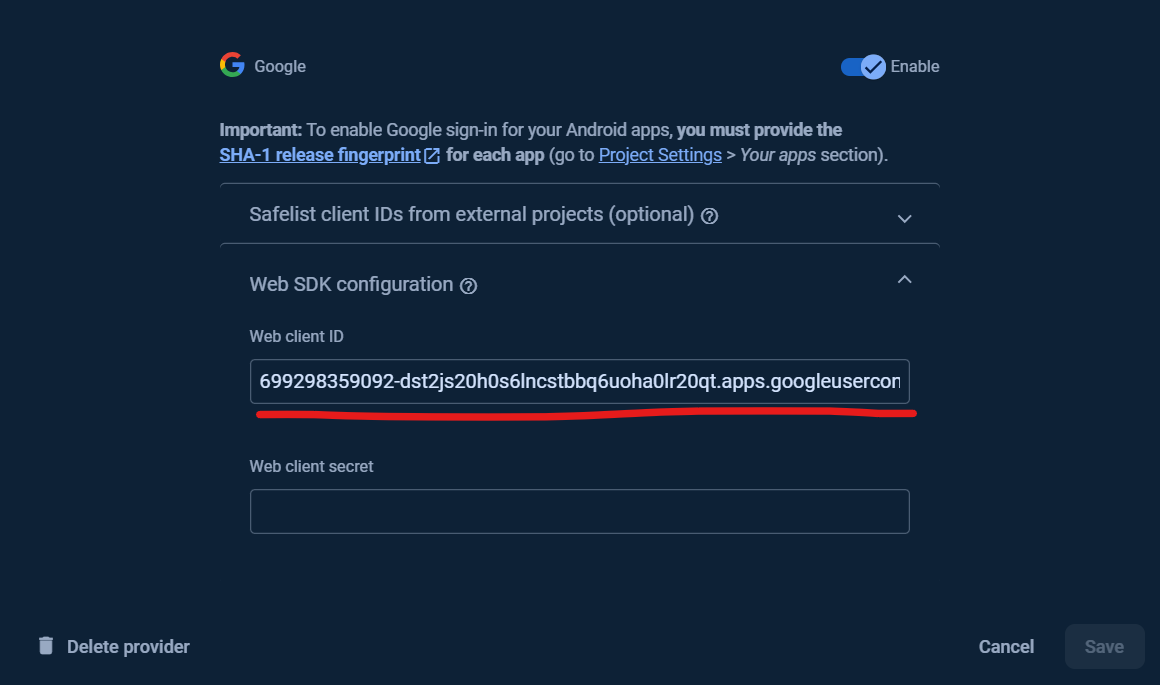
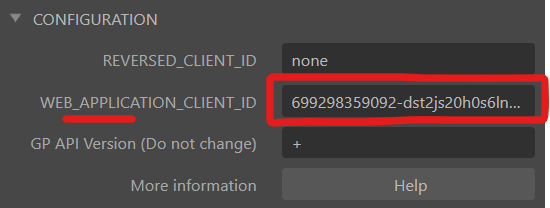
- Paste the WEB_APPLICATION_CLIENT_ID in the Firebase Auth Mobile (Google) Plugin Property.
 caution
None of these values should be completely empty. If you do not need one of these, at least set the value to some dummy string. For eg. "none"
3. Android Export Property & SHA-1 Fingerprint
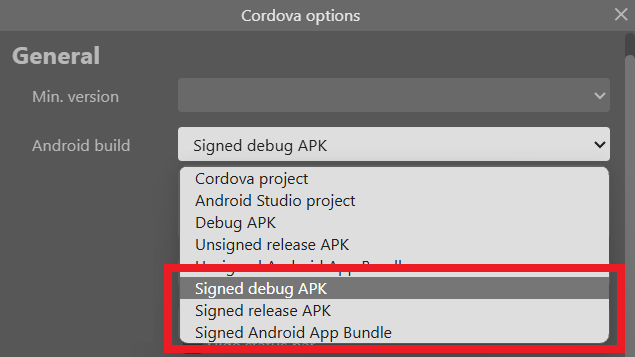
- Your Android build type must be Signed.
(Select one of the three highlighted options)
- Go to Project Settings > Your Android App
- Add your SHA-1 fingerprints.
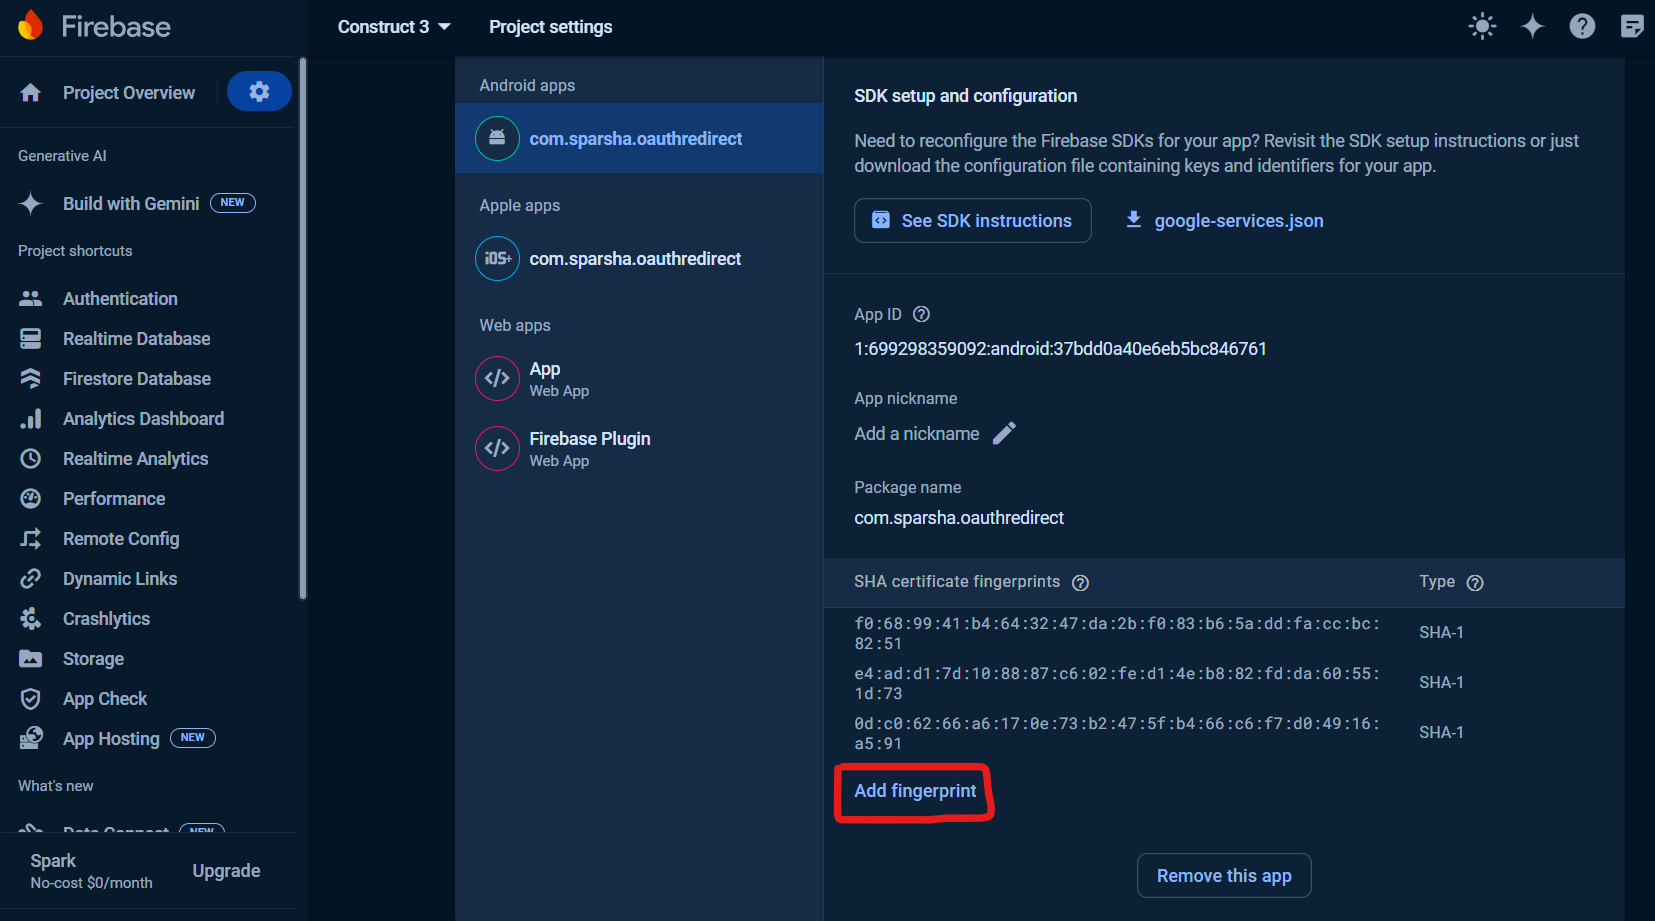
- If you dont already have SHA-1 fingerprints, see the next steps.
C3 Android Build SHA-1 fingerprint
If you don't already have a keystore or want to create a new one, create it from Construct 3 Android Export, as given in the image below.
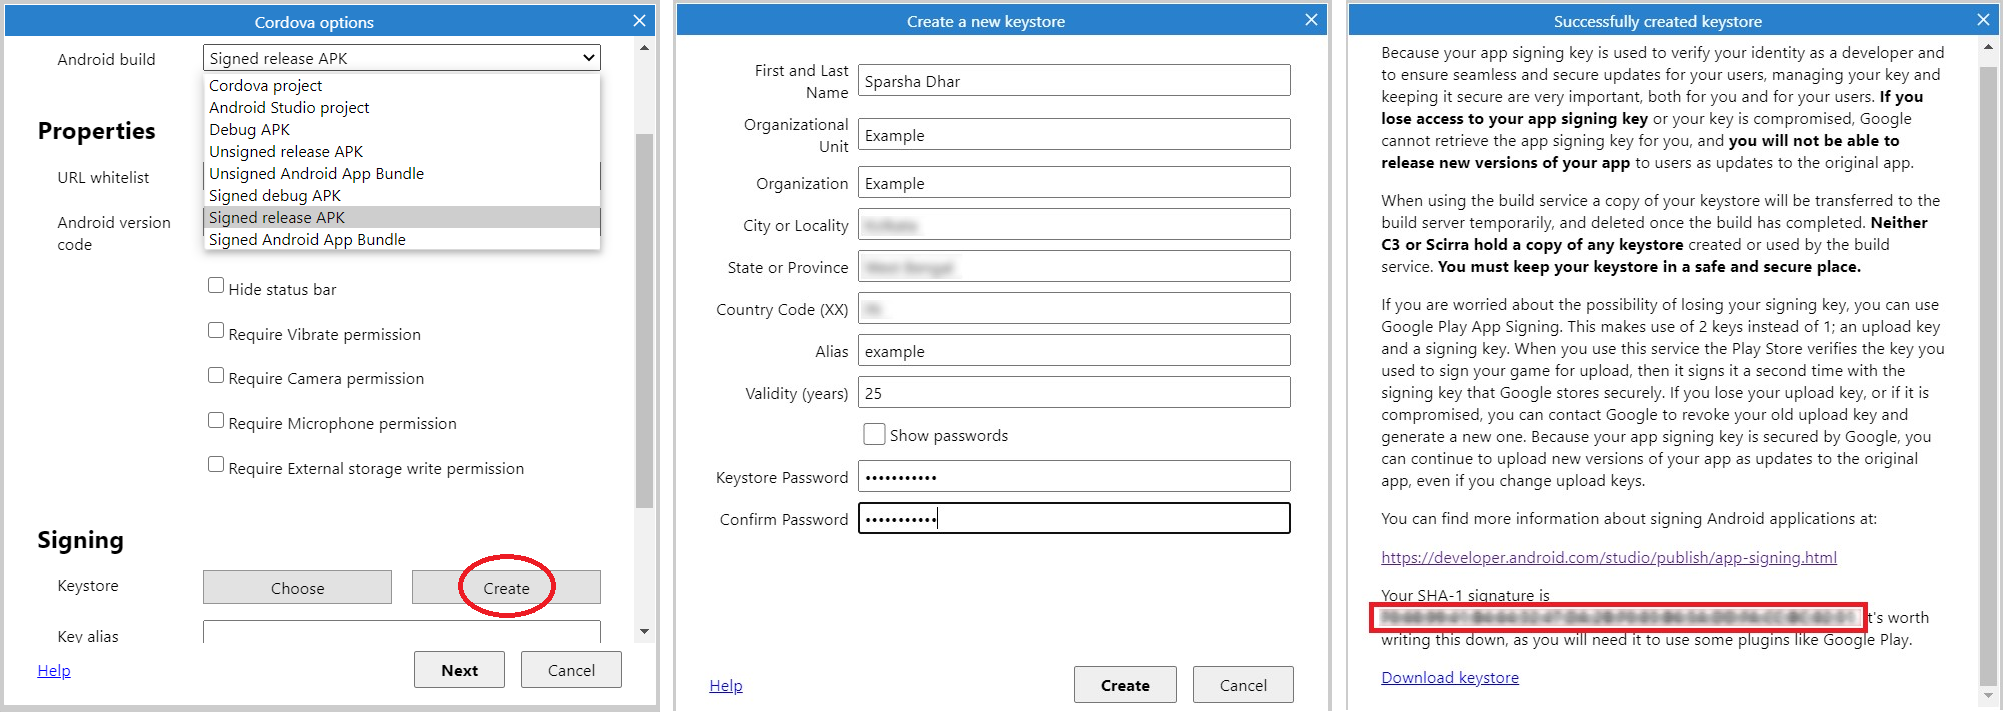 (Click to magnify image)
- Note down the SHA-1 signature. This is your required SHA-1 signature.
- Download keystore.jks
- You should Choose this keystore for building the apk.
Google Play Console: SHA-1
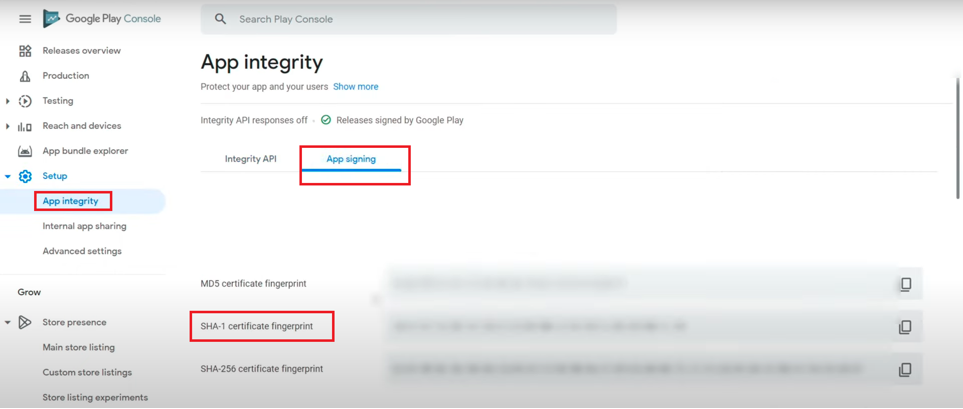
While releasing your app to Google Play, you will need to include the SHA-1 fingerprint from the Google Play Console.
- Go to Google Play Console > Setup > App integrity > App signing
- Copy the SHA-1 fingerprint and paste it in your Firebase Console Settings.
1. Set REVERSED_CLIENT_ID
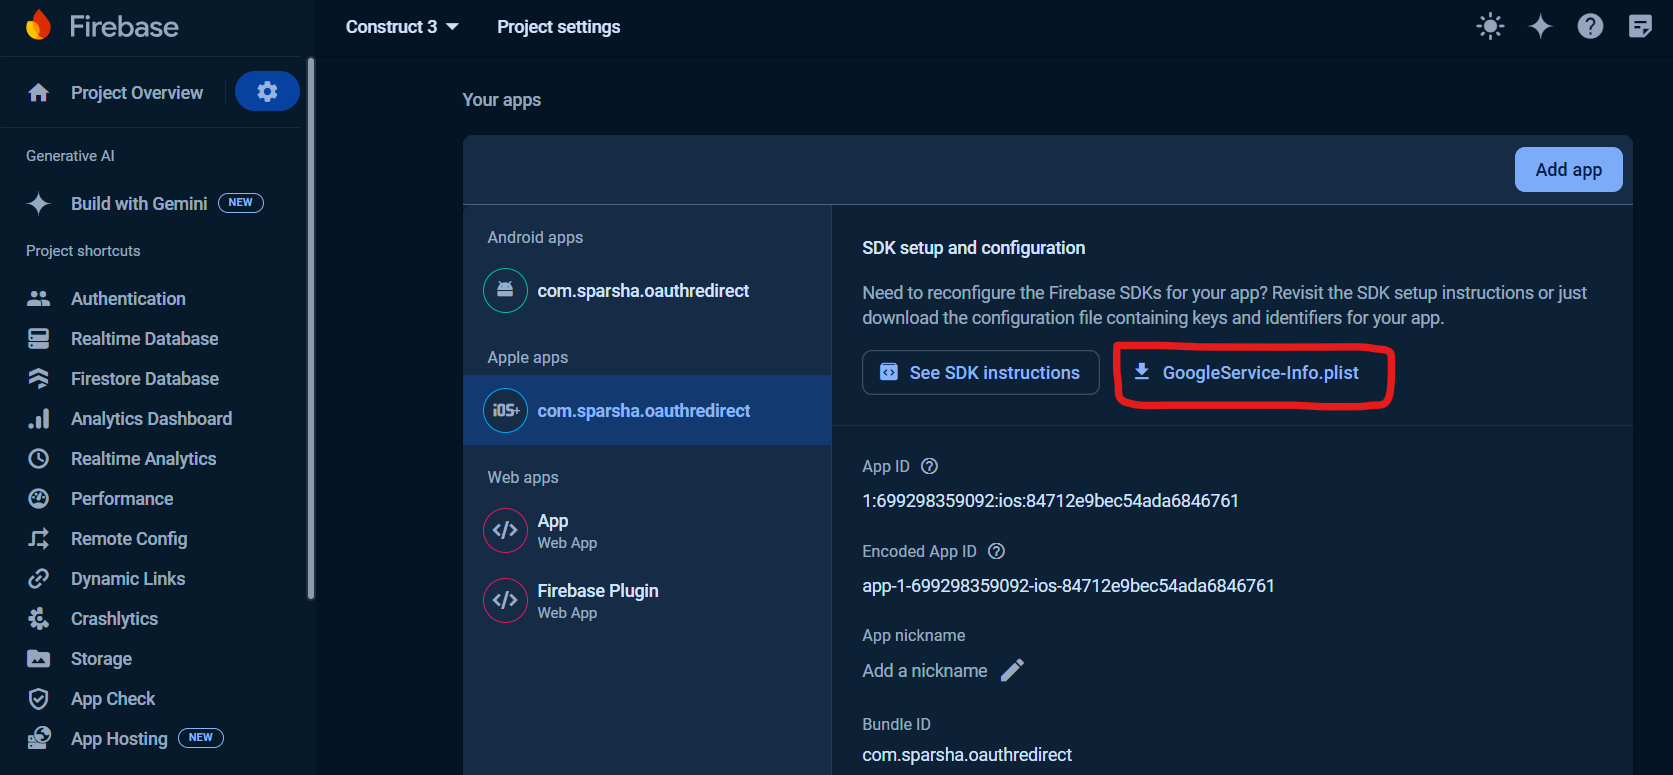
- Go to Firebase Console > Project Settings
- Add an iOS App if you don't have already
- Click on your iOS app option and download GoogleService-Info.plist file.
- Open the downloaded file. Search for
REVERSED_CLIENT_ID. Then copy the required String.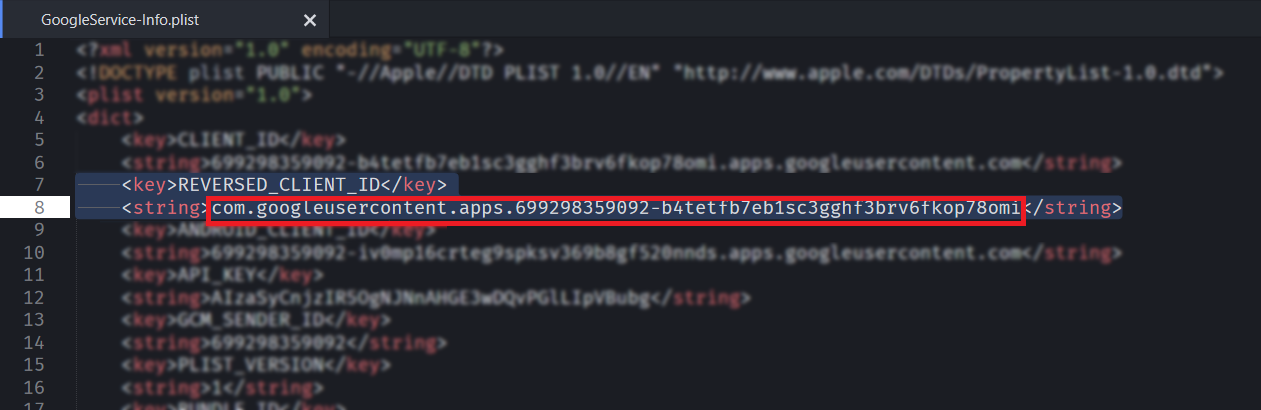
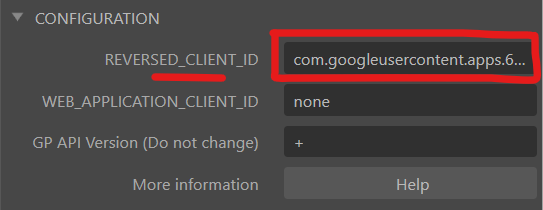
- Paste the REVERSED_CLIENT_ID in the Firebase Auth Mobile (Google) Plugin Property.
 caution
None of these values should be completely empty. If you do not need one of these, at least set the value to some dummy string. For eg. "none"
2. Final Preparations for iOS Export
Follow the steps in this doc: 📄iOS Export 📌